Showing posts with label bread. Show all posts

Saturday, April 23, 2011

Bunny Buns

We have been so busy lately. The last time I sat down in my own house was last Sunday. Today I slept in until 6:45 (that's AM) and I'm thinking I already need a nap.

When I opened my Reader, I had 387 unread messages. You cannot believe the temptation so just hit the Mark as Read button and be done with it. But I can't do that. I just can't. What if I miss something awesome? Unique? Delicious? Perfect?

Fortunately, I decided to hit a few posts just to see what was out there. I discovered the Recipe Shoe Box a few weeks ago. It just happened that the first post I saw was the one for these adorable rolls. The Kids were sitting next to (on top of) me barely awake when I opened her site. They both were instantly awake, rummaging through the kitchen looking for ingredients.


Add a package of yeast to 1/4 cup of warm water and set it aside.

In a large mixing bowl, add 1/3 cup of sugar, 1/2 cup of oil, a teaspoon of salt and a cup of hot milk. Heat the milk in the microwave for a little over a minute so it is hot but not boiling.
Mix in 2 tablespoons of orange zest, 1/4 cup orange juice and the yeast mixture.
Gradually add in the flour. I didn't quite use 5 1/2 cups. You want an elastic dough that isn't terribly sticky. Knead the dough for 5-10 minutes.Add a little olive oil to a large bowl.
Coat the dough with the oil (I had a little too much in there and just poured the excess off), cover and let rise for 1-2 hours.
It should double in size and look more like this.


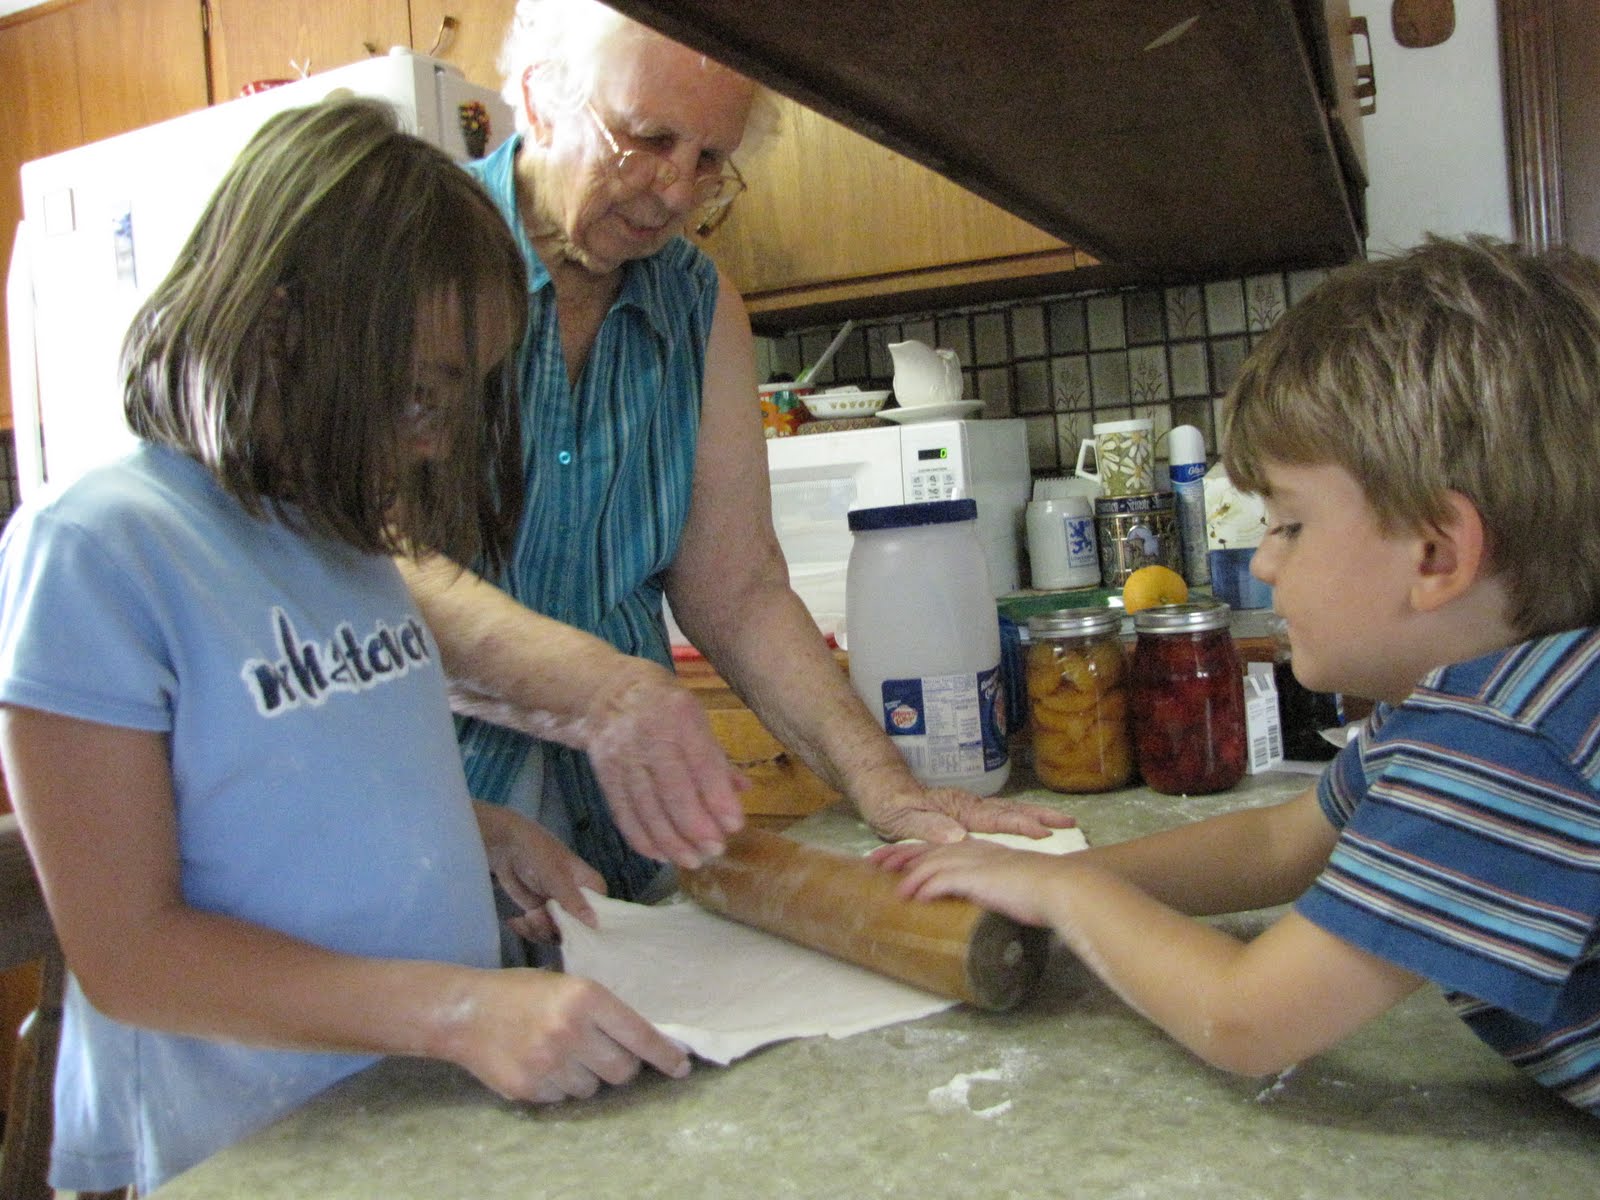
Roll the dough out into a rectangle about 14 inches wide. I used a pizza cutter to cut the dough into 1/2 inch strips.


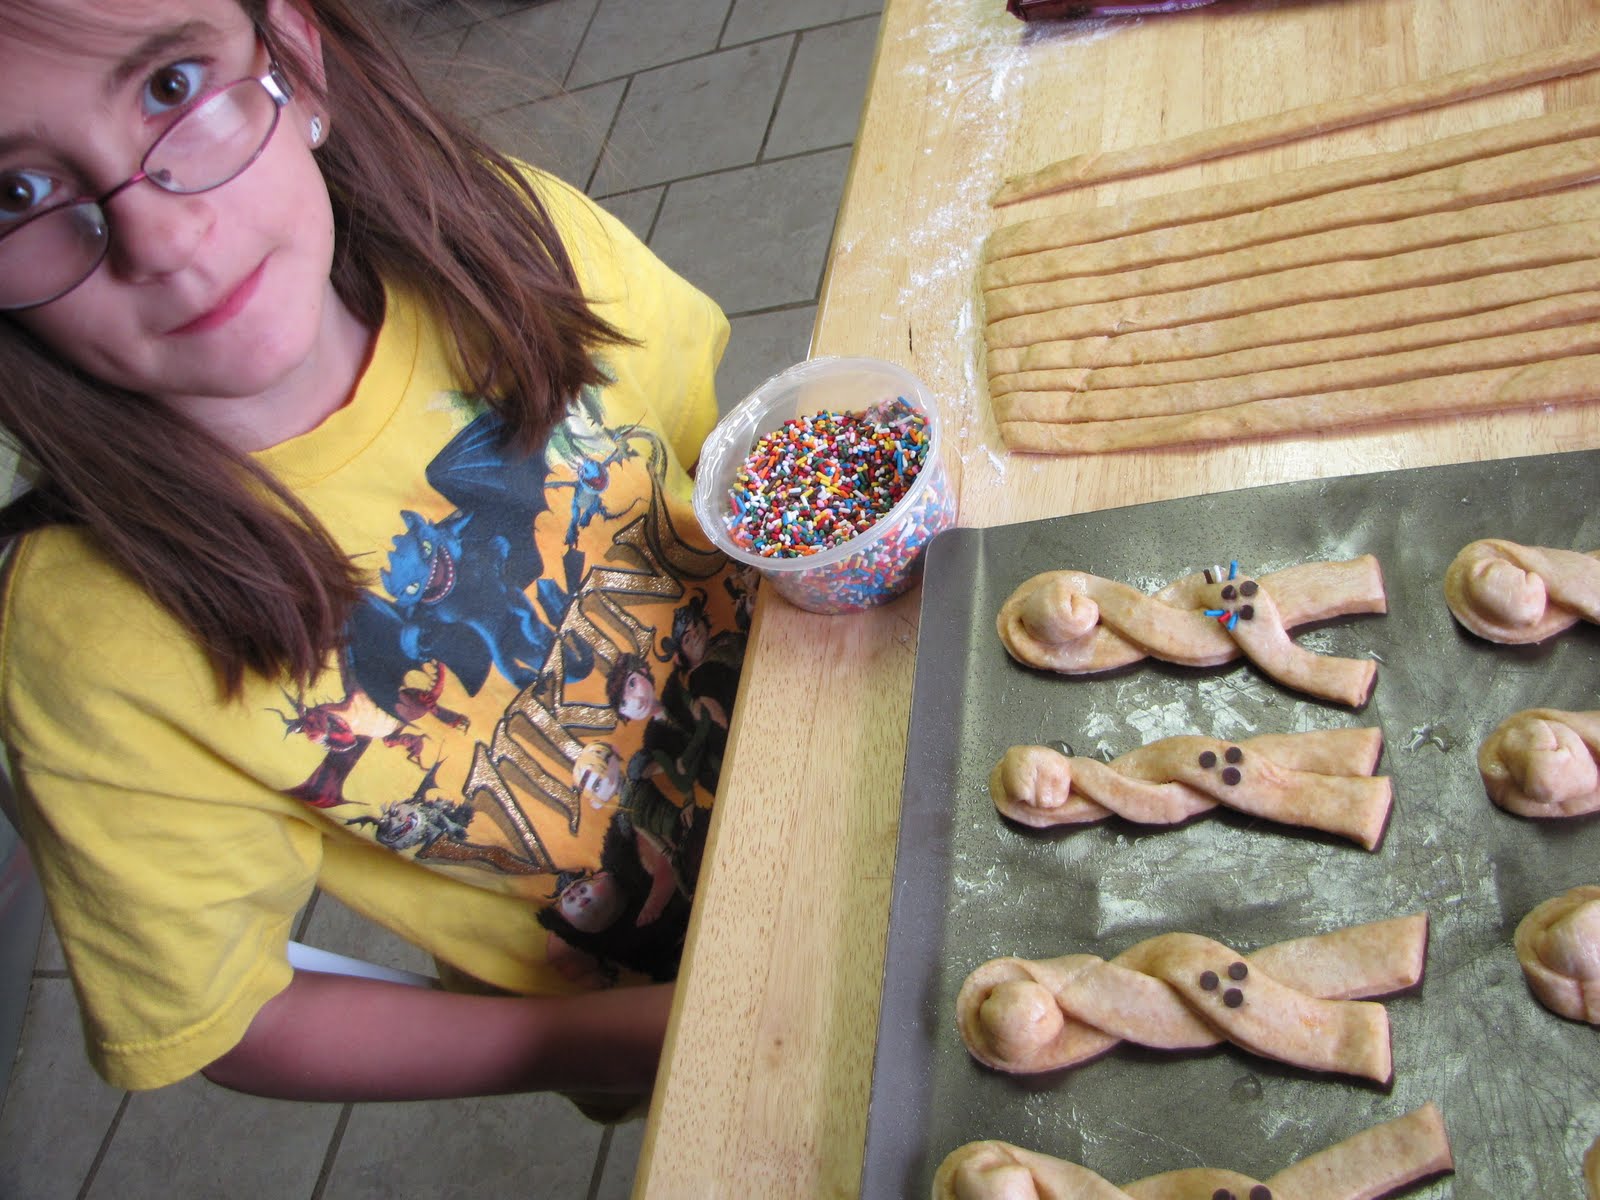
Fold one strip in half and twist it to make a loop.


Cross the ends again.
My strips ended up being a little bit too long, so I sliced off the tops of the super long ears. I used these scraps to roll into a ball. Place the ball into the loop to form the bunny tail.


Should your strips turn out to be the perfect length, take one of your strips and cut it into half inch chunks to form your tail.


Brush the tops of the rolls with an egg wash made by mixing a tablespoon of water with an egg white.
Put The Girl to work making those cute little bunny faces. Lara used round sprinkles for the eyes and noses, which I did not have. I had mini chocolate chips.
This is some pretty tedious work that does not hold a nine year old's attention very well. I think she made it through about half of them before she was ready to give up on the faces.
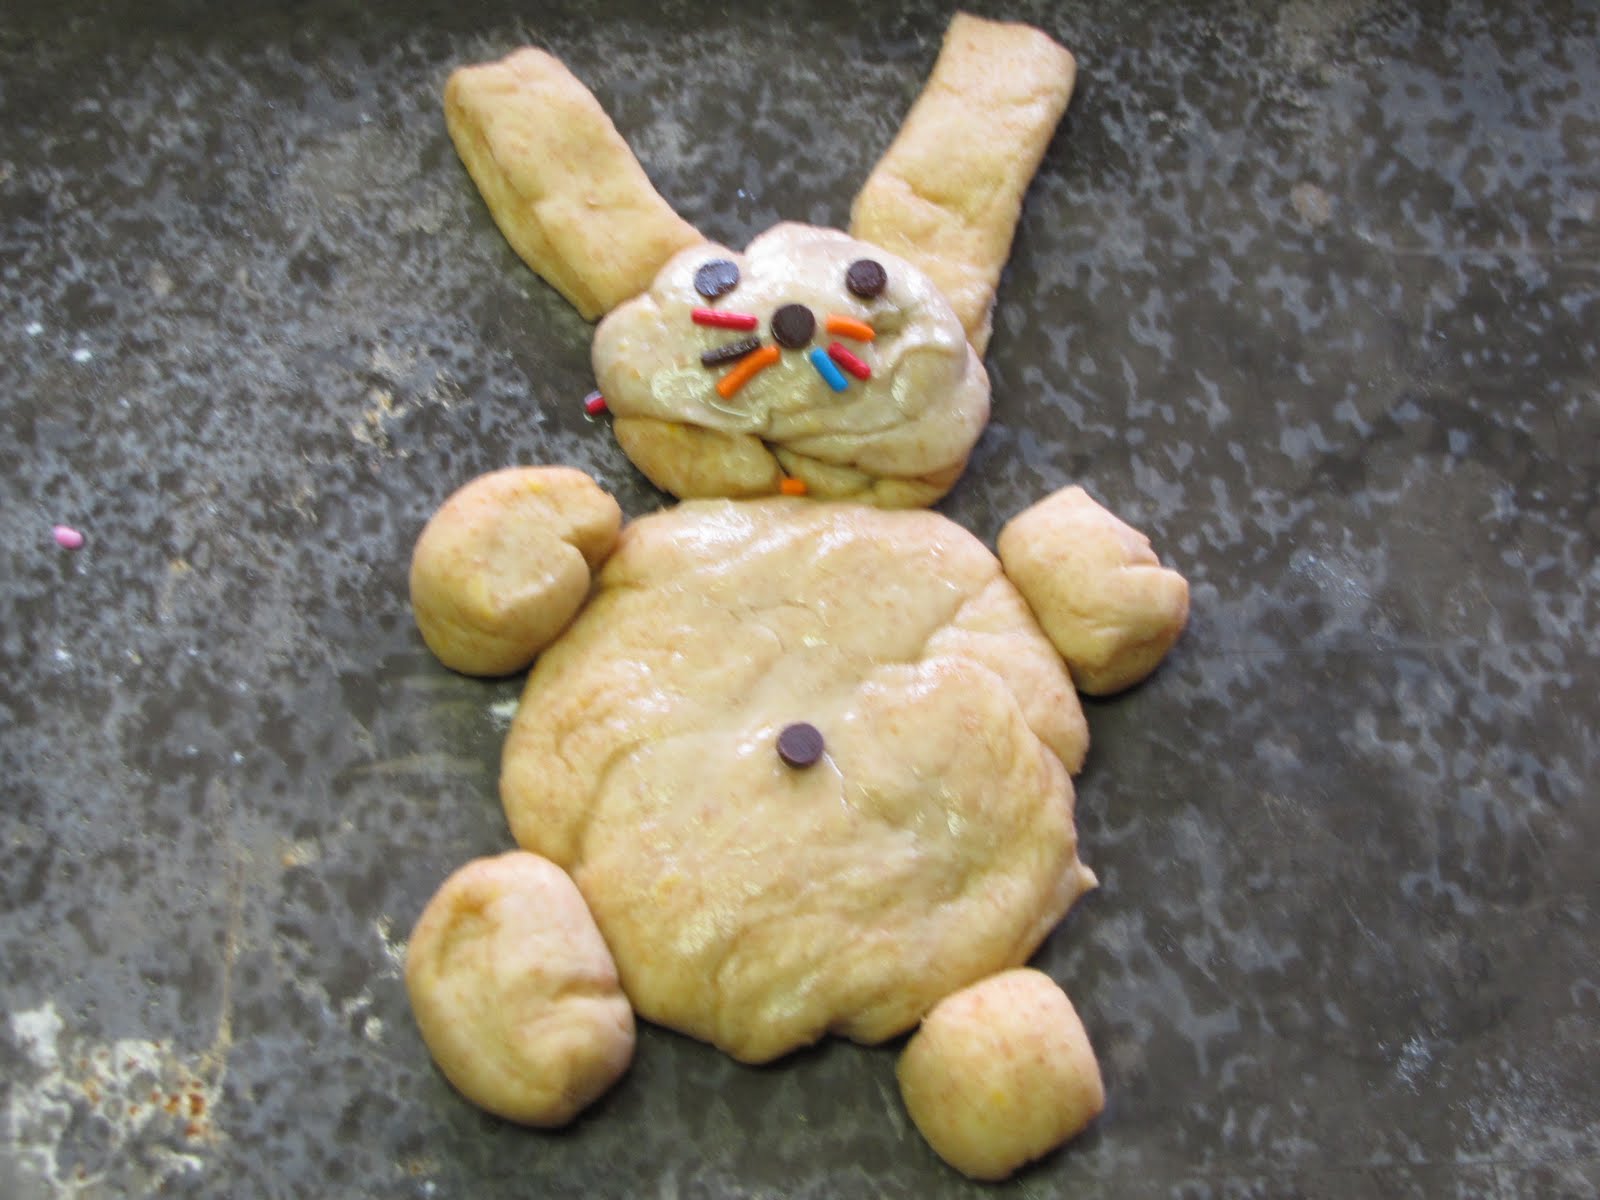
The Boy wanted a fat bunny, so I let him make one. This reminds me of a teddy bear bread I made a looooonnnggg time ago as a 4-H project.
Let these rise again in a warm place for another hour or so and then bake at 375 for 15 minutes.
Pretend there is a picture of me mixing up a glaze of powdered sugar, water and orange juice. If you don't like the orange (we surprisingly LOVED it) you can substitute water. Brush this on as soon as the rolls are out of the oven.

NOTE: If you used chocolate chips for the decoration, do NOT brush over them. Brush around. Otherwise, your poor bunny's face will look like The Boy's when he comes home from playing at my Dad's farm.
These may well be the cutest things ever made. And delicious. I couldn't really detect the orange in the dough, but the orange in the glaze was perfect. These are very sneaky since they are not as sweet as cinnamon rolls, you can eat about four of them before you start thinking maybe you are overdoing it.

It has been declared at our house that these are only to be made at each and every Easter from now until the end of time. There is also a restriction stating that they may ONLY be made at Easter time, unless we get actual rabbits and they have babies, then we can make these to celebrate.

Now if that's not a strong hint, I don't know what is.

Click here for Printable Recipe

Bunny Buns
1 Tbs. active dry yeast
1/4 cup warm water
1 cup milk
1/3 cup sugar
1/2 cup oil
1 tsp. salt
2 eggs, beaten
1/4 cup orange juice
2 Tbs. grated orange peel
5-1/2 cups flour
Ice cream sprinkles (optional for making faces)

Glaze
2 cups powdered sugar
2 Tbs. hot water
2 Tbs. orange juice
1 tsp. butter

In a medium sized bowl, combine the yeast and the warm water. Set aside. In another bowl, heat milk in microwave so it is hot, but not boiling. Blend hot milk with sugar, oil, and salt. Add eggs, yeast with water, orange juice, and orange peel. Add flour a few cups at a time to make a soft dough. Knead for 5-10 minutes. Place dough in a lightly greased bowl, turning once to grease surface. Cover and allow the dough to rise for 1-2 hours, or until double in size. Punch dough down and let stand for 10 minutes.

On a lightly floured surface, roll dough into a long rectangle 1/2-inch thick. Cut dough into strips 1/2-inch wide and 14-inches long.

Roll the dough to make rounded snake shapes. Reserve 1-2 of the strips to cut into pieces about 1/2-inch long and roll into small balls (for the tails).

Place one long piece of dough on a greased cookie sheet. Place one end of the strip over the other to make a loop; bring the end that is underneath up and cross it over the other end. Place a ball of dough on top of the bottom loop (to be the tail).
To make faces, make an egg wash with one egg white and one tablespoon of warm water. Brush over the tops of the bunnies. Using a combination of sprinkles, raisins, chocolate chips, etc, make a little face at the base of the "ears".

Cover bunnies and allow to rise in a warm place for 45-60 minutes, until nearly double in size. Bake at 375 degrees for 12-15 minutes.

For the glaze, stir powdered sugar, water, orange juice, and butter together. Frost bunnies with the glaze while still warm. Makes about 20 bunny buns.

Saturday, April 16, 2011

No Rise Pizza Dough

We have been on a pizza kick lately. Anything you can possibly imagine, we have made into a pizza topping. It started out as a way to clean out the refrigerator and grew into a monster.

The problem I ran into was time. Most dough recipes require at least some sort of rising time for them to turn out edible. So I was on a search to find one that didn't require rising. I have a crazy crust dough recipe, but I never really liked the texture of it. It's good in a pinch and maybe for a change of pace, but it didn't quite fit what I wanted. So off to the blogosphere it was to find my perfect recipe.

Now, there are a LOT of really good pizza dough recipes out there, but several months ago, I came across My Bizzy Kitchen's recipe for a no rise pizza dough. This is it. This is what I have been searching for.

This may be the best pizza dough I have ever had.

AND it does not have to rise. Hence the title, No Rise Pizza Dough.

Biz makes hers in a food processor, but I just put mine in my Kitchenaid mixer with the dough hook. (Do you have one of these? No???? Get one. Get one now. They are worth every penny you have to shell out.)

And try this dough. We have made Friday our Pizza Night because of this recipe.
No Rise Pizza Dough
2 1/2 to 2 3/4 cup all-purpose flour, divided
1 teaspoon sea salt
1 package active yeast
1 cup warm water
1 tablespoon olive oil
Heat water to 110 degrees. Add yeast and let it sit for 5 minutes until its all nice and bubbly. Mix 2 cups flour and salt together. Add olive oil to yeast/water mixture and stir. Slowly pour in yeast mixture. Mix well. Add enough extra flour so that it stops sticking to the sides. Knead the dough for about 5 minutes.

For a crispy cruncy crust: prebake dough at 425 for 7 minutes, remove from oven, add toppings and then slide pizza directly onto the oven on the lowest rack until the toppings all melt together.

For a chewy crust: put the pizza in the oven with all the toppings, leave it on the cookie sheet and cook at 400 degrees.

This recipe makes two 12 inch pizzas.


Wednesday, February 2, 2011

Toffee Rolls


I made these awhile back at a time where I didn't know whether I was coming or going. I apparently threw the recipe back in the pile and forgot about them. I am stunned by this because these are heavenly. Also not so stunned because I think I ate half the batch before I told anyone else they were done.

Yeah, these are really good.

And really easy.

Have The Boy mix the butter, brown sugar, cinnamon and toffee bits together while you lay out a package of refrigerated crescent rolls.
After you seal all the perforations, spread that butter mixture evenly across the top.
Roll them up and cut them into 1 inch slices.
Bake at 375 for about 15 minutes.
Mix up some icing using powdered sugar, milk and vanilla and drizzle over the rolls.
Did I mention these were good?

Click here for Printable Recipe

Toffee Rolls
6 tablespoons butter, softened
1/2 cup packed brown sugar
1 teaspoon ground cinnamon
1/3 cup Toffee Bits or almond brickle chips
2 tubes (8 ounces each) refrigerated crescent rolls
1 cup confectioners' sugar
4-1/2 teaspoons whole milk
1/4 teaspoon vanilla extract
In a small bowl, cream the butter, brown sugar and cinnamon until light and fluffy. Stir in toffee bits.
Separate each tube of crescent dough into four rectangles; seal perforations. Spread evenly with butter mixture. Roll up each rectangle jelly-roll style, starting with a long side.
Cut each into six 1-in. slices; place cut side down into two greased 8-in. square baking dishes. Bake at 375° for 14-16 minutes or until golden brown.
In a small bowl, combine the confectioners' sugar, milk and vanilla until smooth. Drizzle over warm rolls. Yield: 4 dozen.

Friday, January 21, 2011

My Grandma's Cinnamon Rolls


My Grandma makes good food. No, strike that. My Grandma makes legendary food. She has a knack for tweaking just one little ingredient and making the whole thing better.

Take her cinnamon rolls.

A good number of people will tell you that in order to make good cinnamon rolls, you must take those rolls and slather them in frosting.

This is wrong.

Just plain wrong.

Cinnamon rolls are delicious because they are rolls that have cinnamon in them. In order to really appreciate this combination, you must be able to taste the roll and the cinnamon, and not just sugar.

This is where Grandma has surpassed all expectations and obtained perfection.

You will need some dough. In her words, "any old sweet dough recipe will work." You can also use frozen bread dough.

Lightly flour a flat surface.
Then roll out your dough. I love Grandma's hands. I think you can read the story of her life without even knowing anything about her.
Roll out your dough to about 1/4 inch thickness.
Let everyone have a turn.
Here is Part I of Grandma's secret. Shortening. Okay all you out there cringing. She also said lard would work.

Spread this out over the dough in a semi-thin layer.
Then sprinkle with your favorite cinnamon-sugar ratio.
Start on the long end and roll up the dough.
And now Part II. If you made it past the first round of shortening, there's more. Take a little bit and melt it into the bottom of your baking pan.
You should have a thin (1/4 inch) layer on the bottom of the pan.
Now cut that roll of dough into about 1 inch slices.
And place in the melted shortening. Sprinkle with a little more cinnamon-sugar mixture, because that's what Grandma does.
She also adds a little bit more shortening. Don't skip this step. This is how the magic really happens.
Let those rolls rise in a nice warm place until they are doubled in size (about an hour). Just before baking, pour a can of evaporated milk over the rolls and bake at 350 for 20 minutes.

EDIT: I do not have a picture of the evaporated milk! Grandma did this while I went to help Dad move round bales! This is a crucial step that cannot be avoided and I managed to hide it well enough for some people to miss it! (Sorry about that, Neal)

Invert those baked rolls onto a plate and let them cool, leaving the pan on top of the rolls. This is important! All that shortening deliciousness is going to fall out of the pan down into the rolls.

And you get this...
Scoop any extra gooey back onto the rolls.

Gooey, yummy, oh my...
Just looking at this picture makes me hungry.

And it makes me think of my Grandma.
And, yes, this picture of her and The Girl makes me want to cry.

Saturday, January 1, 2011

Cinnamon Butter


Can you believe it's 2011? Have you decided on your resolutions? I have two. I had three, but didn't want to go overboard, you know. My abandoned resolution was to eat healthier. A couple things stood in my way.

First, we eat pretty good here anyway. I have been so lucky to have kids who aren't afraid of vegetables. So I really wasn't too worried about our diet to begin with. It just seemed like the type of resolution you should make.

Second, I discovered how to make my own cinnamon butter. There is no way I could in good conscious pledge to eat healthy when I know this exists.

Half a stick of butter, two tablespoons powdered sugar and a teaspoon of cinnamon.
Whip this together.
Spread on homemade bread.
Oh my. Or, if you are really feeling indulgent...

Spread this onto pancakes...
I will never be without this again.

Click here for Printable Recipe

Cinnamon Butter
1/2 Cup Butter
2 Tablespoons Powdered Sugar
1 teaspoon Cinnamon
Whip all ingredients until light and fluffy. Store in an air tight container in the refrigerator.

Friday, August 7, 2009

Peanut Butter-Chocolate Chip Banana Bread


When I was little, summer meant two things: Swimming Lessons and Bible School. We lived in the middle of nowhere, so this was really the only time I ever got to see anyone besides my family and the younger kids a half mile down the road.

Days of swimming lessons were the only time we ever got to go to the pool. All other swimming experiences involved muddy waters, inner tubes, rope swings, crawdad catching and fish nibbling my toes. Oh, and leeches. Not that I'm complaining...it was a great time :)

Besides playing Red Rover, what stands out most vividly in my mind from Bible School is the snacks. Specifically, the Green Goddess dressing used for vegetable dip and the slices of bananas spread with peanut butter. Yuuummmmm.

I came across this recipe from a blog I follow called Sugar Plum. I love her. She travels around to cooking competitions and creates recipes that always sound incredible (no matter how off-the-wall the ingredients sound). I flashed back to Bible School and knew I had to try it immediately.

Use a mixer to combine the peanut butter, sugars, bananas and butter.
Keep mixing. You want all the banana chunks to blend in. Add in the eggs and vanilla and mix well.
Add flour and mix gently.
Add in the milk and mix gently.
Pour in to a greased pan and bake.
Bring this out and let it cool. It's hard, I know, but if you cut into this right away, it will crumble to pieces.
Slice and enjoy.
I am making this again. I think I might up the peanut butter a little bit and cut back on the chocolate chips. I like a lot of peanut butter.

Click here for Printable Recipe

Peanut Butter-Chocolate Chip Banana Bread
2 cups all-purpose flour
1 1/2 teaspoons baking powder
1/2 teaspoon baking soda
1/2 teaspoon salt
2 medium ripe mashed bananas
1/2 cup creamy peanut butter
3 tablespoons unsalted butter, softened, divided use
1/2 cup granulated sugar
1/2 cup firmly packed light brown sugar
2 large eggs
1 1/2 teaspoons vanilla extract
1/2 cup milk
3/4 cup semi-sweet or dark chocolate chips
1 1/2 teaspoons turbinado sugar, optional
Preheat oven to 350 degrees F. Coat a 9-inch loaf pan with cooking spray or butter.
In a medium sized mixing bowl, sift together flour, baking powder, baking soda and salt.
In a large mixing bowl, using a mixer on medium speed, beat together banana, peanut butter, 2 tablespoons butter, granulated sugar and brown sugar until creamy, about 2 minutes; beat in eggs and vanilla extract until combined. Reduce mixer speed to low and beat in milk and flour mixture until just combined; stir in chocolate chips
Pour batter into prepared pan; bake for 50 minutes. Remove pan from oven, melt additional tablespoon butter, brush evenly over the top, and top with turbinado sugar. Continue to bake an additional 5 minutes or until golden brown.
Cool for 20 minutes before running a knife around outside edges, removing, and transferring to a wire rack to cool an additional 30 minutes before slicing.